You identify as a rider. You bought a nice riding jacket, a pair of gloves, even riding boots! Okay let's assume that you even have a pair of riding pants or riding jeans, if not many. These are all gear that can be washed, use leather conditioner or be repaired.
But what about the very first thing you went and bought after the bike? (Sometimes even before).
The Helmet! Surely you spent a lot of money on this thing. You already know about the safer helmets which have certifications like ISI (Indian), DOT (American), ECE (European), Snell, etc.
These helmets aren't cheap, but they sure feel worth the bucks straight out of the box! The fresh scent, clean and soft inner liners, smooth moving vents with that snappy sound, smooth shell surface, I can go on and on! It's like buying a new car. But cars are kinda completely washable. You service the interiors, get the exterior cleaned almost daily, and occasional detailing sessions when you're feeling the love. Real ones know that even the engine bay needs to and can, be cleaned up from time to time.
Well I have good news! The classy expensive helmet you just bought can also be deep cleaned, and kept fresh for longer. In fact, doing these maintenance runs actually prolong the life of your helmet, as dust and dirt causes scratches, decay and movement restrictions.
Here are the steps:
Step 1: Visor
Remove the visor. Yes, it's removable, unless you got ripped off by a shady brand.
First of all, if the visor is visibly dirty, do not directly use a wet cloth or aerosol spray cleaners on the visor. A- the dirt will rub along with the cloth and create micro scratches, and B- Aerosol sprays may corrode the surface of the visor. It's an optical part of the helmet, and you want it crystal clear for as long as possible.
Washing the visor under a tap/ plain running water is more than enough, along with soft, remember SOFT rubs with your finger/thumb tips (Yeah, thumbs and fingers are different). Keep it aside to air dry, and later wipe it down with a clean cloth, ideally microfiber to smudge out the watermarks.
Step 2: Inner Liners
 Now remove the inner liners. This includes the cheek pads and the head-liner. Again, these are removable in all premium helmets unless you were unlucky.
This is the part of your helmet that absorbs all your sweat while wearing it. Now it depends on how late you are to finding this out, but the sweat needs to be washed off. More so than even your daily t-shirts. Reason: it's constantly touching your face, if you don't prefer wearing a Balaclava, which generally would act as a dividing layer between your face and the helmet, almost halving the sweat transfer. Suggestion: If you didn't know about balaclavas, try them out, and if you haven't found a good balaclava yet, try out Tiivra.
Anyway, to clean your liners which are primarily fabric, foam and a little bit of plastic, you can quickly wash them by either soaking them in a bucket of mild detergent water, or put them in the washing machine, but only inside a laundry pouch. This is to avoid any damage caused in case the liners get stuck in any gaps while tumbling. If you don't have a laundry pouch, no worries, use a pillow cover. After the wash, sun dry the liners to additionally kill any bacteria that got accumulated and they should be good to reassemble inside the helmet.
Step 3: Clean all the part
There is dirt in the inlet vents, visor mechanisms, exhaust vents, and in the gaps of your EPS. For this, you can start from the outside. A good way is to take a vacuum cleaner with a thin nozzle and suck out as much dust/dirt as possible from the inlet and exhaust vents. I need to mention that this works best when the helmet is completely dry, in case you were doing a post monsoon clean-up. Do the same from the inside of the helmet. Take out all the loose dust.
Next, remove all the cakey dirt. Yes, I'm assuming that it's been a while since you cleaned your Headgear.
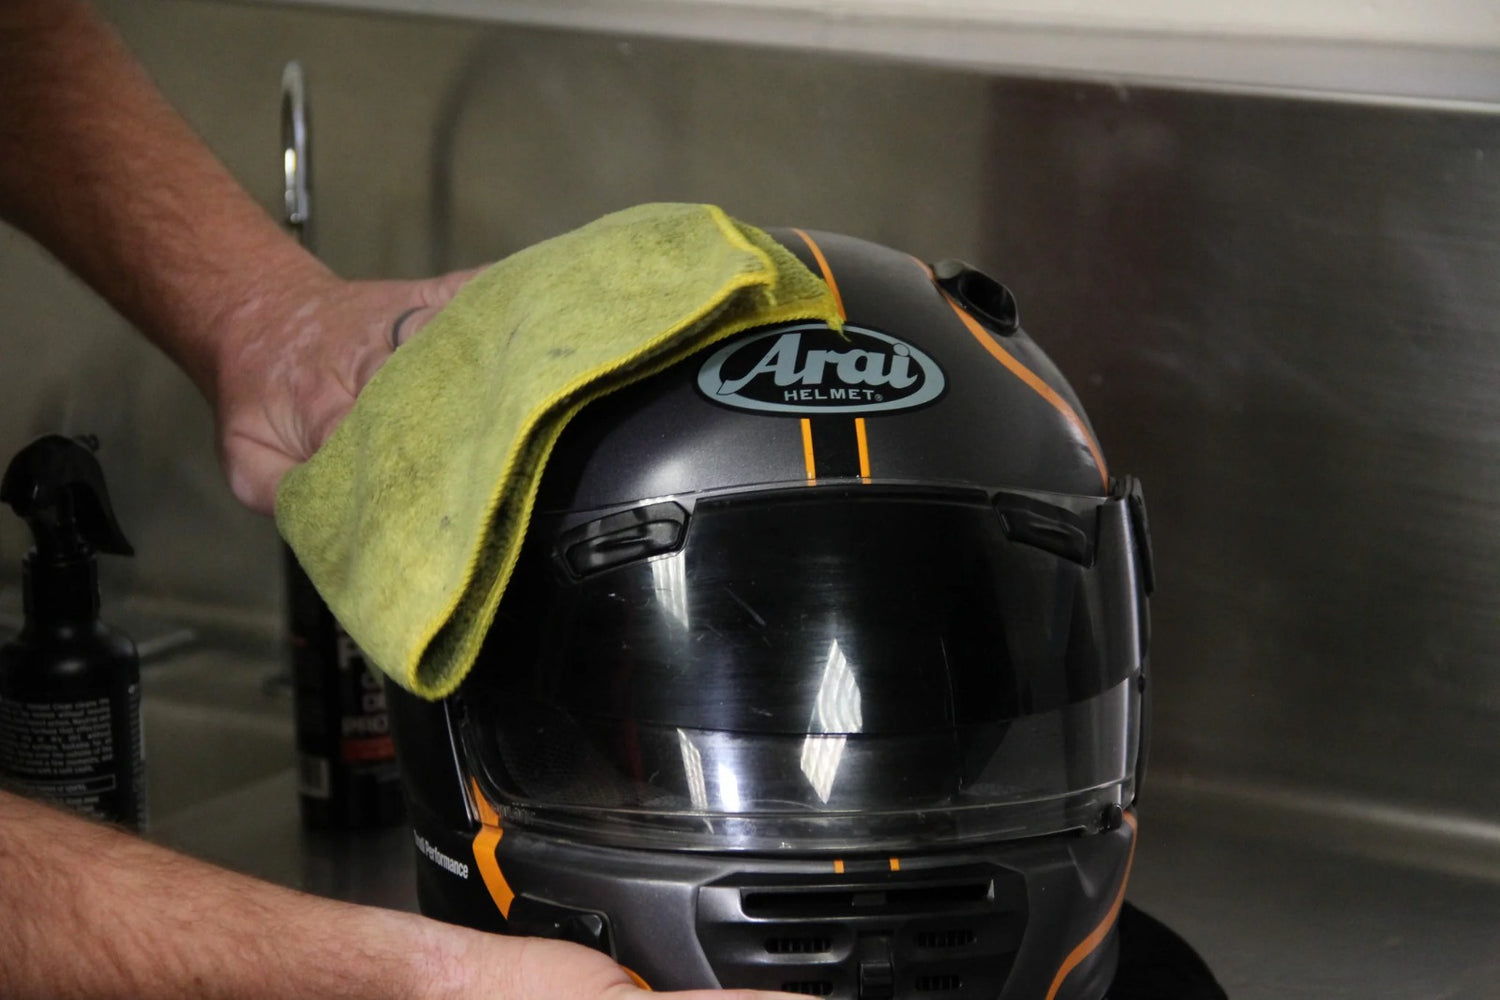
Screw out the visor mechanisms and all other removable parts. Some helmets even have Removable Vents for replaceability and cleaning. Take a microfiber cloth, soak it with water and softly clean out that dirt. Make sure to clean all the creases and gaps, the window rubber beading as well. Personal hack - Keyboard cleaning multi tools work very well to clean dirt out of helmet vents and mechanism crevice. You can even use any non-aerosol foam cleaners that are used to clean the interiors of a car. This will loosen the dirt and be easier to wipe off later. I'd recommend using one that has good reviews online (read the comments).
This step will make your helmet look and feel almost like a new one.
But we're not done yet. Why not give your helmet a fresh polish if it's a gloss finish? Give it that shine back. For this you can get a WHITE POLISHING CREAM from any detailing shop, and apply small amounts on a clean microfiber cloth followed by gentle, circular rubs all across the shell surface. You'll know it's done when the whole shell is shining like it could reflect the sun back to space, and you cannot see any polishing cream streaks on the surface. We're almost there!
Step 4: Reassemble

The final step is to reassemble your helmet. But before that, I'd recommend giving it that new car fragrance. You could use a liquid scrap version (not too much) or simply stick a scent pad like a Helmy which is specifically made for helmets, right behind the head-liner. Fit in all the Liners, in my experience, start from the head-liner, then the cheek pads and finally the chin curtain (if you use one).
Then reattach the Visor and Vents, if they were removable. Check all movements to ensure everything was fixed properly.
At this point, your helmet feels good, looks good and even smells good (if not better!)
---
If you have followed all the steps properly your helmet is ready to go out and protect you while making you shine out of the crowd. Do this twice or even thrice a year, while doing lighter clean-ups on a weekly basis for best product life.
P.S: There are some foam based helmet cleaners available which do a great job at cleaning the outer surface of the helmet liners - it’s a good halfway between nothing and a full deep wash.


Leave a comment
All comments are moderated before being published.
This site is protected by hCaptcha and the hCaptcha Privacy Policy and Terms of Service apply.